


1. Navigate to your blog dashboard
To create a new blog post, navigate to your blog dashboard (Content > Blog).
2. Select blog
If you have multiple blogs, you will need to toggle to the blog in which you would like to author the new post. If you do not have multiple blogs, you can skip to the next step.
3. Create post
Click Write new blog post to create a new blog post.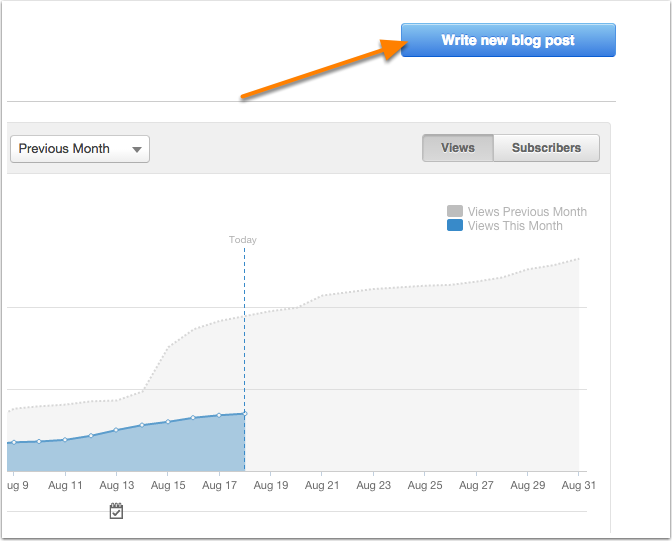
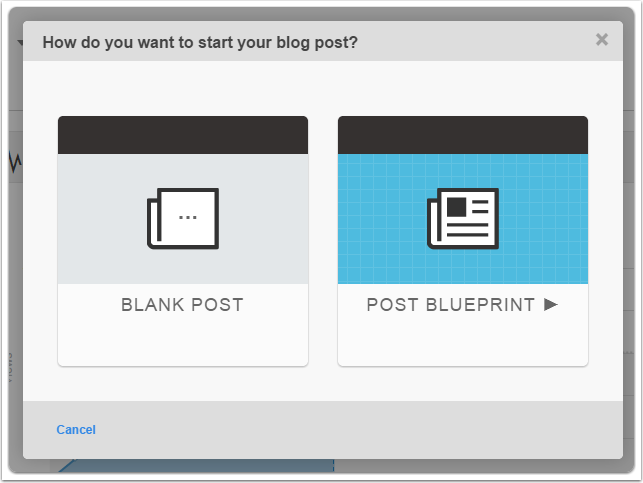
Post blueprints include default content to give you ideas about how to structure typical posts. Post blueprints give you a starting post structure to modify to suit your needs. The three blueprints include:
- how-to-post
- list post
- visual post
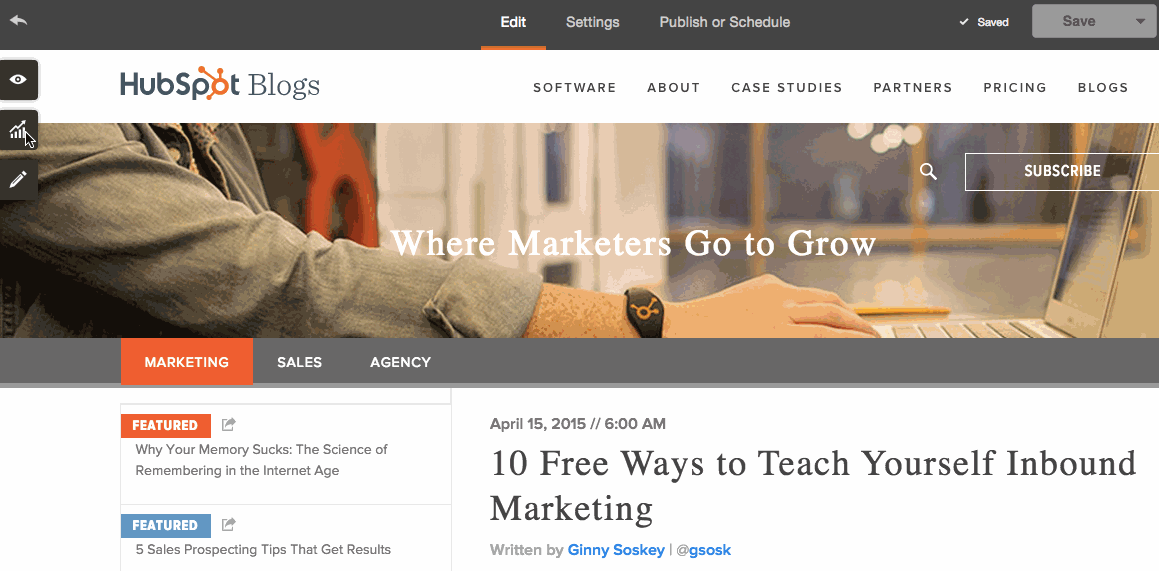
5. Draft the post content
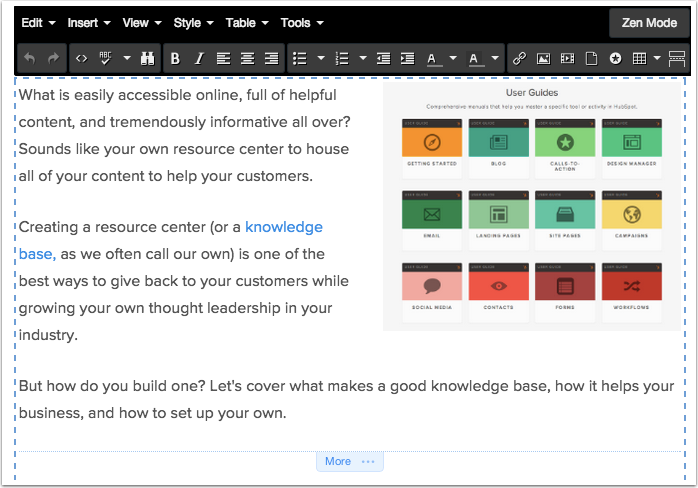
To begin editing content, hover over and click the post body area of the editor. This action will reveal a formatting menu.
Use this menu to add text, relevant images, and CTA buttons to draft your post. You can learn more about using the rich text editor interface.
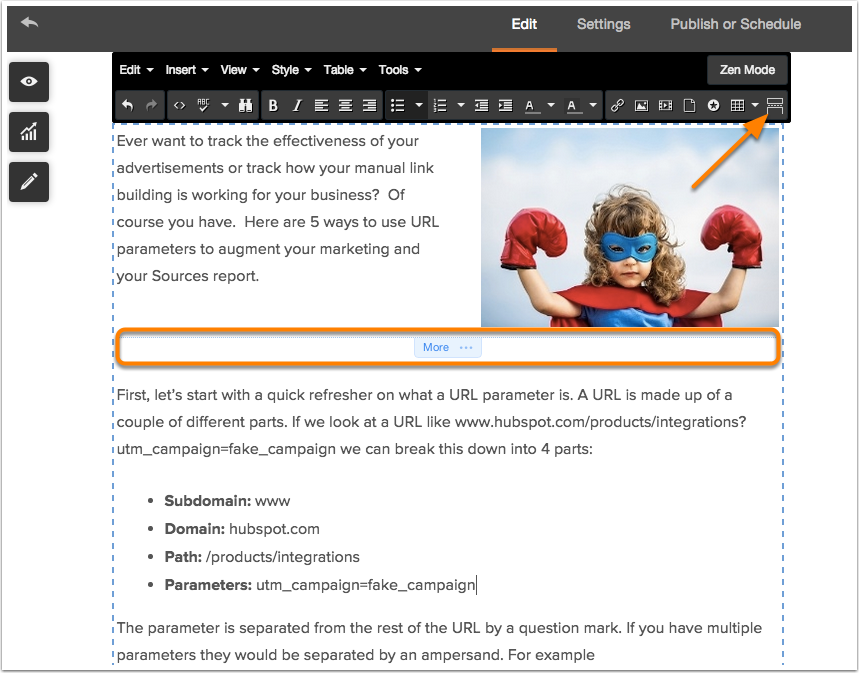
Read more separator
By default, HubSpot will show the first paragraph on content as a summary on a listing of your posts. You can control how much content renders on the listing, by using the Read More Separator.Clicking this option, adds a separator to your post body. All content above this separator will render on the listing layout.
6. Configure Settings
Once you have drafted your content, you will want to configure the blog settings. Click Settings at the top of the editor.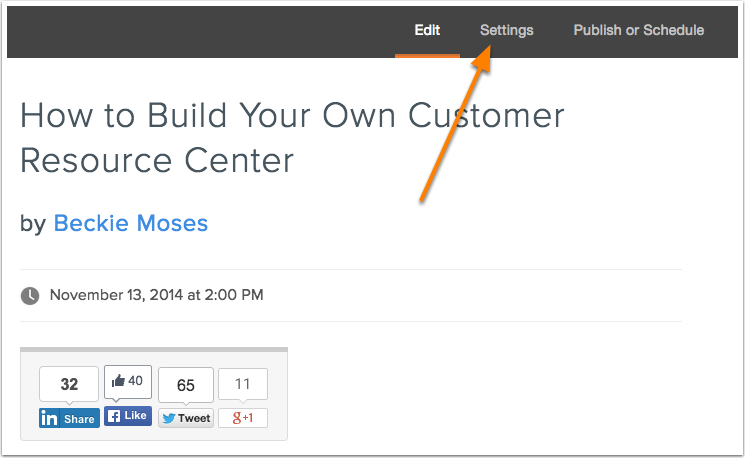
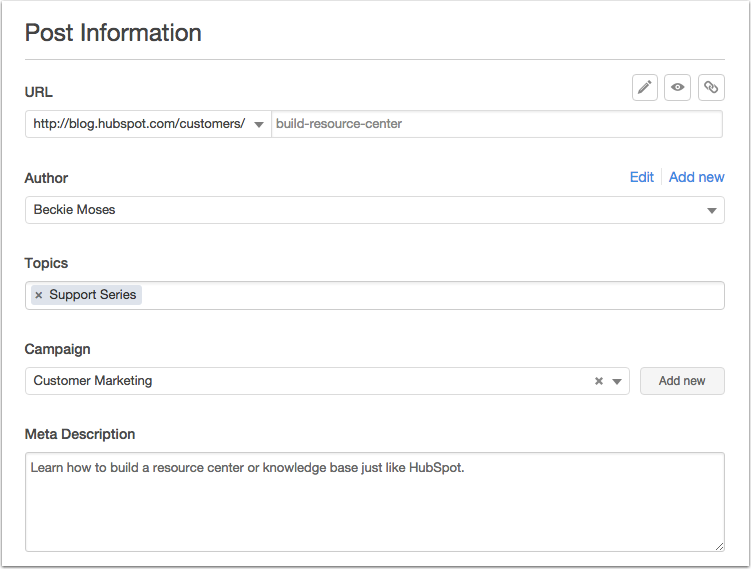
- The post's URL
- The post's author
- The post's topics
- The post's campaign
- The post's meta description
- The post's featured image
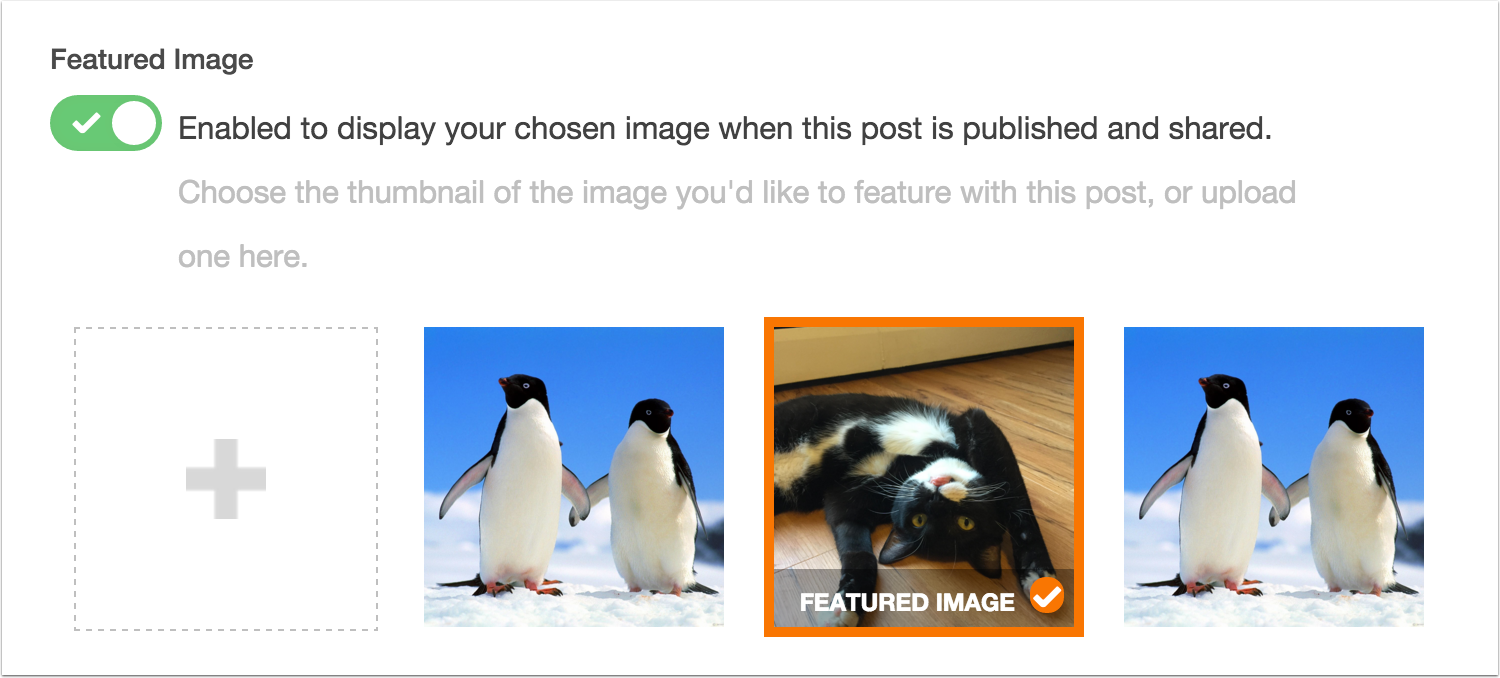
Featured image
Within the Settings panel, you can set the featured image. Featured images are the image that is used when the post is shared on social media, and will also render on the post listing layout (if the using the standard HubSpot template and enabled in Content Settings).You can click on one of the images here to choose your featured image or you can click the [ + ] icon, which would let you upload and use a completely different image that isn't in your blog post.
7. Review and optimize post
Once you have drafted your blog post, you can use the SEO Optimization button to see SEO recommendations for your post.To see optimization recommendations, click the SEO Optimization button on the editor sidebar.
Add any keywords that you would like to optimize the post for, and click Select keywords. This pane will give your recommendations and show you completed SEO optimization actions.
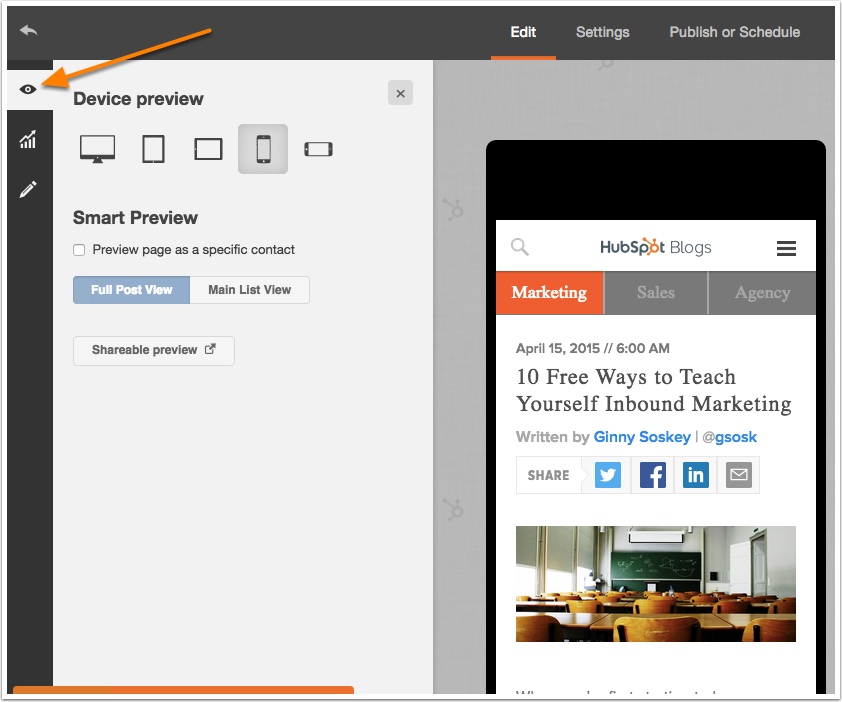
8. Preview post
Once you have optimized your post for search engine results, you may want to preview it before publishing. Click the Preview button on the editor sidebar to see preview options.This pane provides the abilty to preview either the post or the listing on various device viewports. If you are using smart content, you can also preview the post as a specific contact.
You can also open a shareable preview to generate a link to preview the post.
9. Publish or schedule post
Once you are ready to publish your post, navigate to the Publish or Schedule, and choose whether you want to publish now or schedule for later.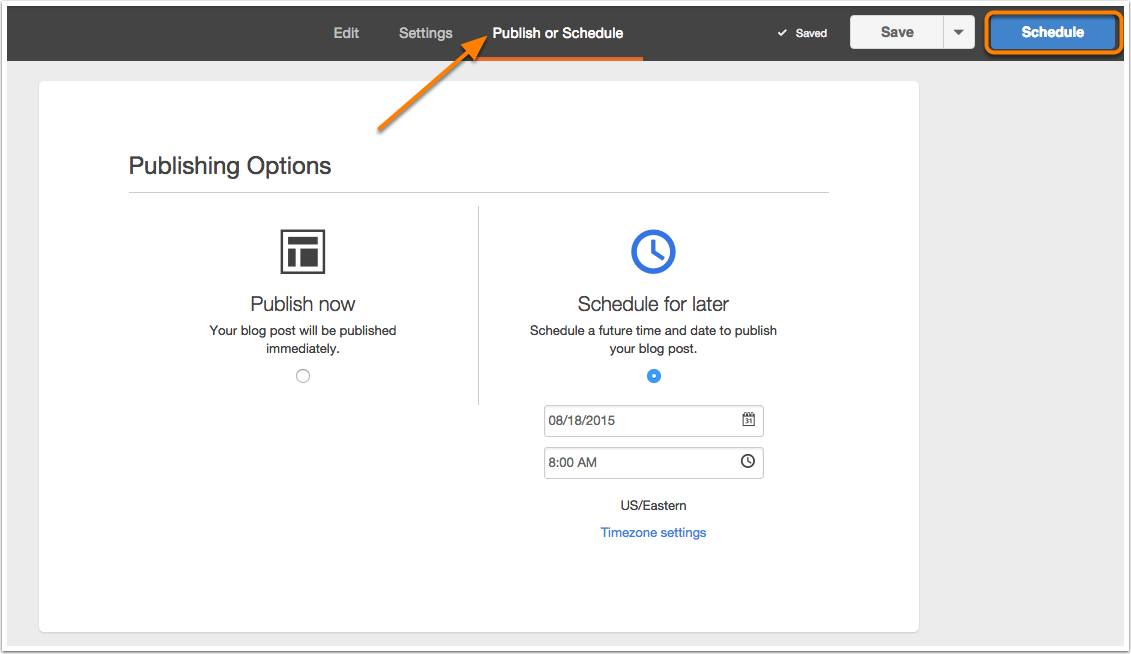


0 comments:
Post a Comment